
Leave a Message with Flask
In this blog post, I’ll be creating a simple web app using Flask. Using a SQL database, this app will serve as a message bank where users can submit and view messages.
Here’s a link to my project repository:
https://github.com/acgowda/msg-bank-site
§1. Setup
For this tutorial, some setup is necessary before starting. After creating a repository to hold the app, you will need to create some folders and files. Below, you can see how I structured my repository, including required files and their locations.
├── LICENSE
├── README.md
└── app
    ├── __init__.py
    ├── static
    │   └── style.css
    └── templates
        ├── base.html
        ├── main.html
        ├── submit.html
        └── view.html
Note: While I will provide some code in this post, to follow along completely you will need to clone my repository.
The app folder contains the entirety of the flask app. Within it, we have the __init__.py that contains the Python backend. Then, we have the static folder that contains the optional css files. In our case, we will just use one for the entire site. Lastly, we have the templates folder that contains the html code for the pages of our site. We have three pages that all extend base.html for consistent site design. Please visit my repository to get the html files.
CSS
Below is style.css, the CSS file that will be used. There are several lines that are commented out which can be used to make minor edits to the site layout.
@import url('https://fonts.googleapis.com/css?family=Lato');
html {
    background-color: white;
    font-family: 'Lato', sans-serif;
    font-size: 15px;
    max-width: 800px;
    margin: 0 auto;
}

h1 {
    margin: 1rem 0;
    text-align: center;
    font-size: 33px;
}

h2 {
    margin: 1rem 0;
    /*text-align: center;*/
    font-size: 23px;
}

nav {
    text-align: center;
}

nav ul {
    /* center w/o sides */
    /*display: inline-block; */

    list-style-type: none;
    margin: 0;
    padding: 0;
    overflow: hidden;
    background-color: #A6B1E1;
}

nav ul li {
    /* left or center w/o sides */
    float: left;

    /* center w/ sides */
    /*display: inline;*/

    /*border-right: 1px solid white;*/
}

nav ul li a {
    /* left or center w/o sides */
    display: block;

    /* center w/ sides */
    /*display: inline-block;*/

    color: black;
    padding: 14px 16px;
    text-decoration: none;
    /*font-size: 15px;*/
}

nav ul li a:hover {
    background-color: #424874;
    color: #F4EEFF;
}

.active {
    background-color: #424874;
    color: #F4EEFF;
}

.content {
    padding: 0 1rem 1rem;
    /*border-radius: 25px;*/
    /*border: 3px solid orange;*/
}

hr {
    border: none;
    border-top: 2px solid lightgray;
}
Importing Packages
First, these imports are required in __init__.py. The last line is necessary for Flask.
from flask import Flask, g, render_template, request
import sqlite3

app = Flask(__name__)
Running App
Below, add the following lines.
@app.route('/')
def main():
    return render_template('main.html')
This routes the homepage of the app to main.html. Next, we can run the following commands in the terminal to use the app as we develop it.
export FLASK_ENV=development
flask run
The site will be hosted at http://localhost:5000.
§2. Submitting a Message
Let’s now implement the message submitting feature. We will need to create a few helper functions for this task.
Getting the Database
First, we want to create a function to access the database of messages. If the database does not exist, we want to create one with the proper structure. As seen below, we will have three columns: id, handle, and message.
def get_message_db():
    try:
        return g.message_db
    except:
        # if the database doesn't exist, create one with the given columns
        g.message_db = sqlite3.connect("messages_db.sqlite")
        cmd = \
        '''
        CREATE TABLE IF NOT EXISTS `messages` (
            id INTEGER PRIMARY KEY AUTOINCREMENT,
            handle TEXT NOT NULL,
            message TEXT NOT NULL
        )
        '''
        cursor = g.message_db.cursor()
        cursor.execute(cmd)

        return g.message_db
Inserting a Message
Now we want to create a function to add new messages to the database once they are submited. Here, we use the previous helper function get_message_db().
def insert_message():
    conn = get_message_db()

    # add the handle and message to the database
    cmd = \
    f'''
    INSERT INTO messages (handle, message)
    VALUES ('{request.form["handle"]}', '{request.form["message"]}')
    '''
    cursor = conn.cursor()
    cursor.execute(cmd)
    conn.commit()
    conn.close()
It is important to note that we will need to label the inputs in the html submission form in submit.html as name and message for this function to work properly.
HTML Form
We also need to create the page to gather user submissions. Again, note the labels for each input.
{% extends 'base.html' %}

{% block header %}
  <h2>{% block title %}Submit{% endblock %}</h2>
{% endblock %}

{% block content %}
  <form method="post" enctype="multipart/form-data">
    <label for="handle">Name:</label><br>
    <input type="text" name="handle" id="handle"><br>
    <label for="message">Message:</label><br>
    <textarea name="message" id="message"></textarea><br>
    <input type="submit" value="Submit message">
  </form>

  {% if thanks %}
    <br>
    Thanks for submitting a message!
  {% endif %}

  {% if error %}
    <br>
    Please don't leave fields empty.
  {% endif %}
{% endblock %}
There are also two if statements that handle the response based on whether or not the user has provided valid input. The only invalid input we will consider in this blog post is empty strings.
Submit Page
Now, we are ready to create the submit page in __init__.py. For this page, we handle both POST and GET methods. When you first visit the page, you will see the form. Once submitting, you will recieve a feedback message.
@app.route('/submit/', methods=['POST', 'GET'])
def submit():
    if request.method == 'GET':
        return render_template('submit.html')
    else:
        try:
            # raise exception for empty fields
            if request.form["handle"] == '' or request.form["message"] == '':
                raise ValueError('Empty fields.')

            # call the database function if successful submission
            insert_message()

            return render_template('submit.html', thanks=True)
        except:
            return render_template('submit.html', error=True)
Using an if statement, we check if one of the input fields was empty. If so, we throw an exception. If inputs are valid, we call input_message() and add the message to the database.
§3. Viewing Messages
Let’s now implement the message viewing feature. We will only need to create one helper function for this task.
Get Random Messages
The database can hold tons of messages, so we only want to return a few. This function will grab n random messages to display.
def random_messages(n):
    conn = get_message_db()

    # get n random rows from the database
    cmd = \
    f'''
    SELECT * FROM messages ORDER BY RANDOM() LIMIT {n};
    '''
    cursor = conn.cursor()
    cursor.execute(cmd)

    # store results before closing the connection
    result = cursor.fetchall()
    conn.close()

    return result
HTML
Here is the code for view.html. It simply loops through the given messages and displays them.
{% extends 'base.html' %}

{% block header %}
  <h2>{% block title %}View{% endblock %}</h2>
{% endblock %}

{% block content %}
  Here are a few sample messages previously submitted.
  <br>

{% endblock %}
View Page
Now we can create the view page in __init__.py. We will choose to display 5 random messages.
@app.route('/view/')
def view():
    return render_template('view.html', messages = random_messages(5))
§4. Demo
Now that we can submit and retrieve messages, let’s test out the app. Ensure that you are still running the flask app in terminal. Here are the commands again:
export FLASK_ENV=development
flask run
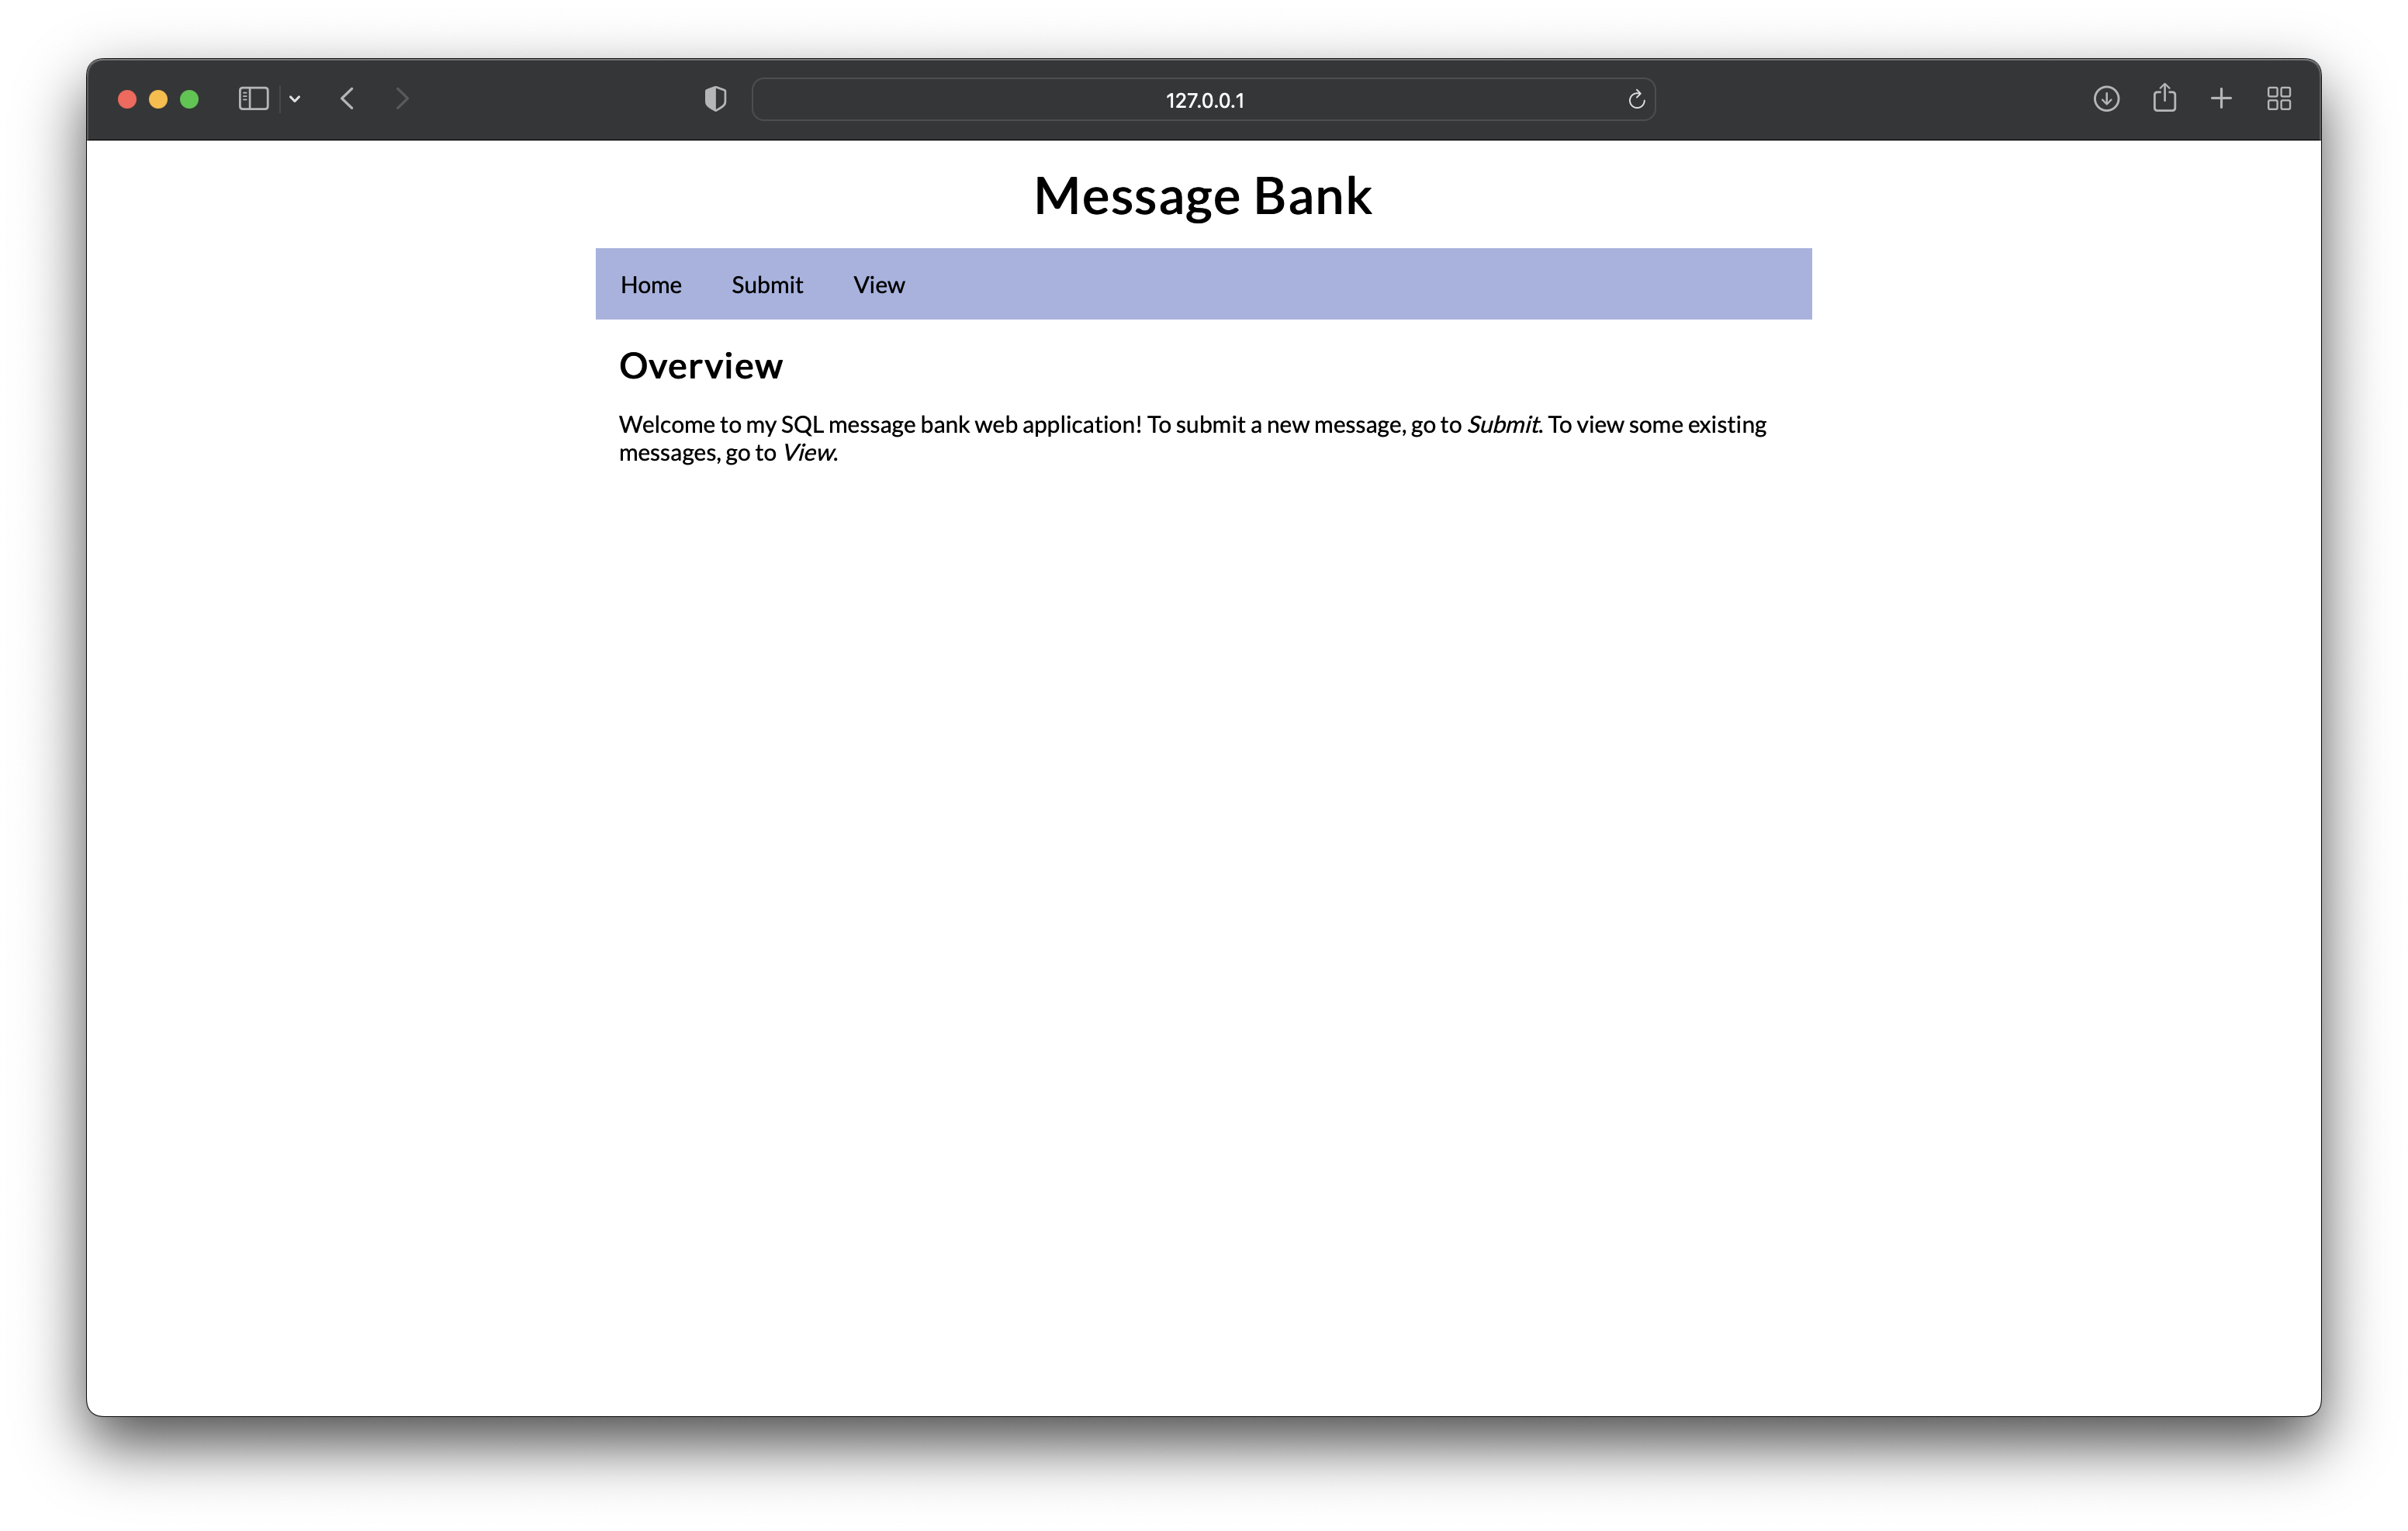
When you first visit http://localhost:5000, you’ll arrive at the home page
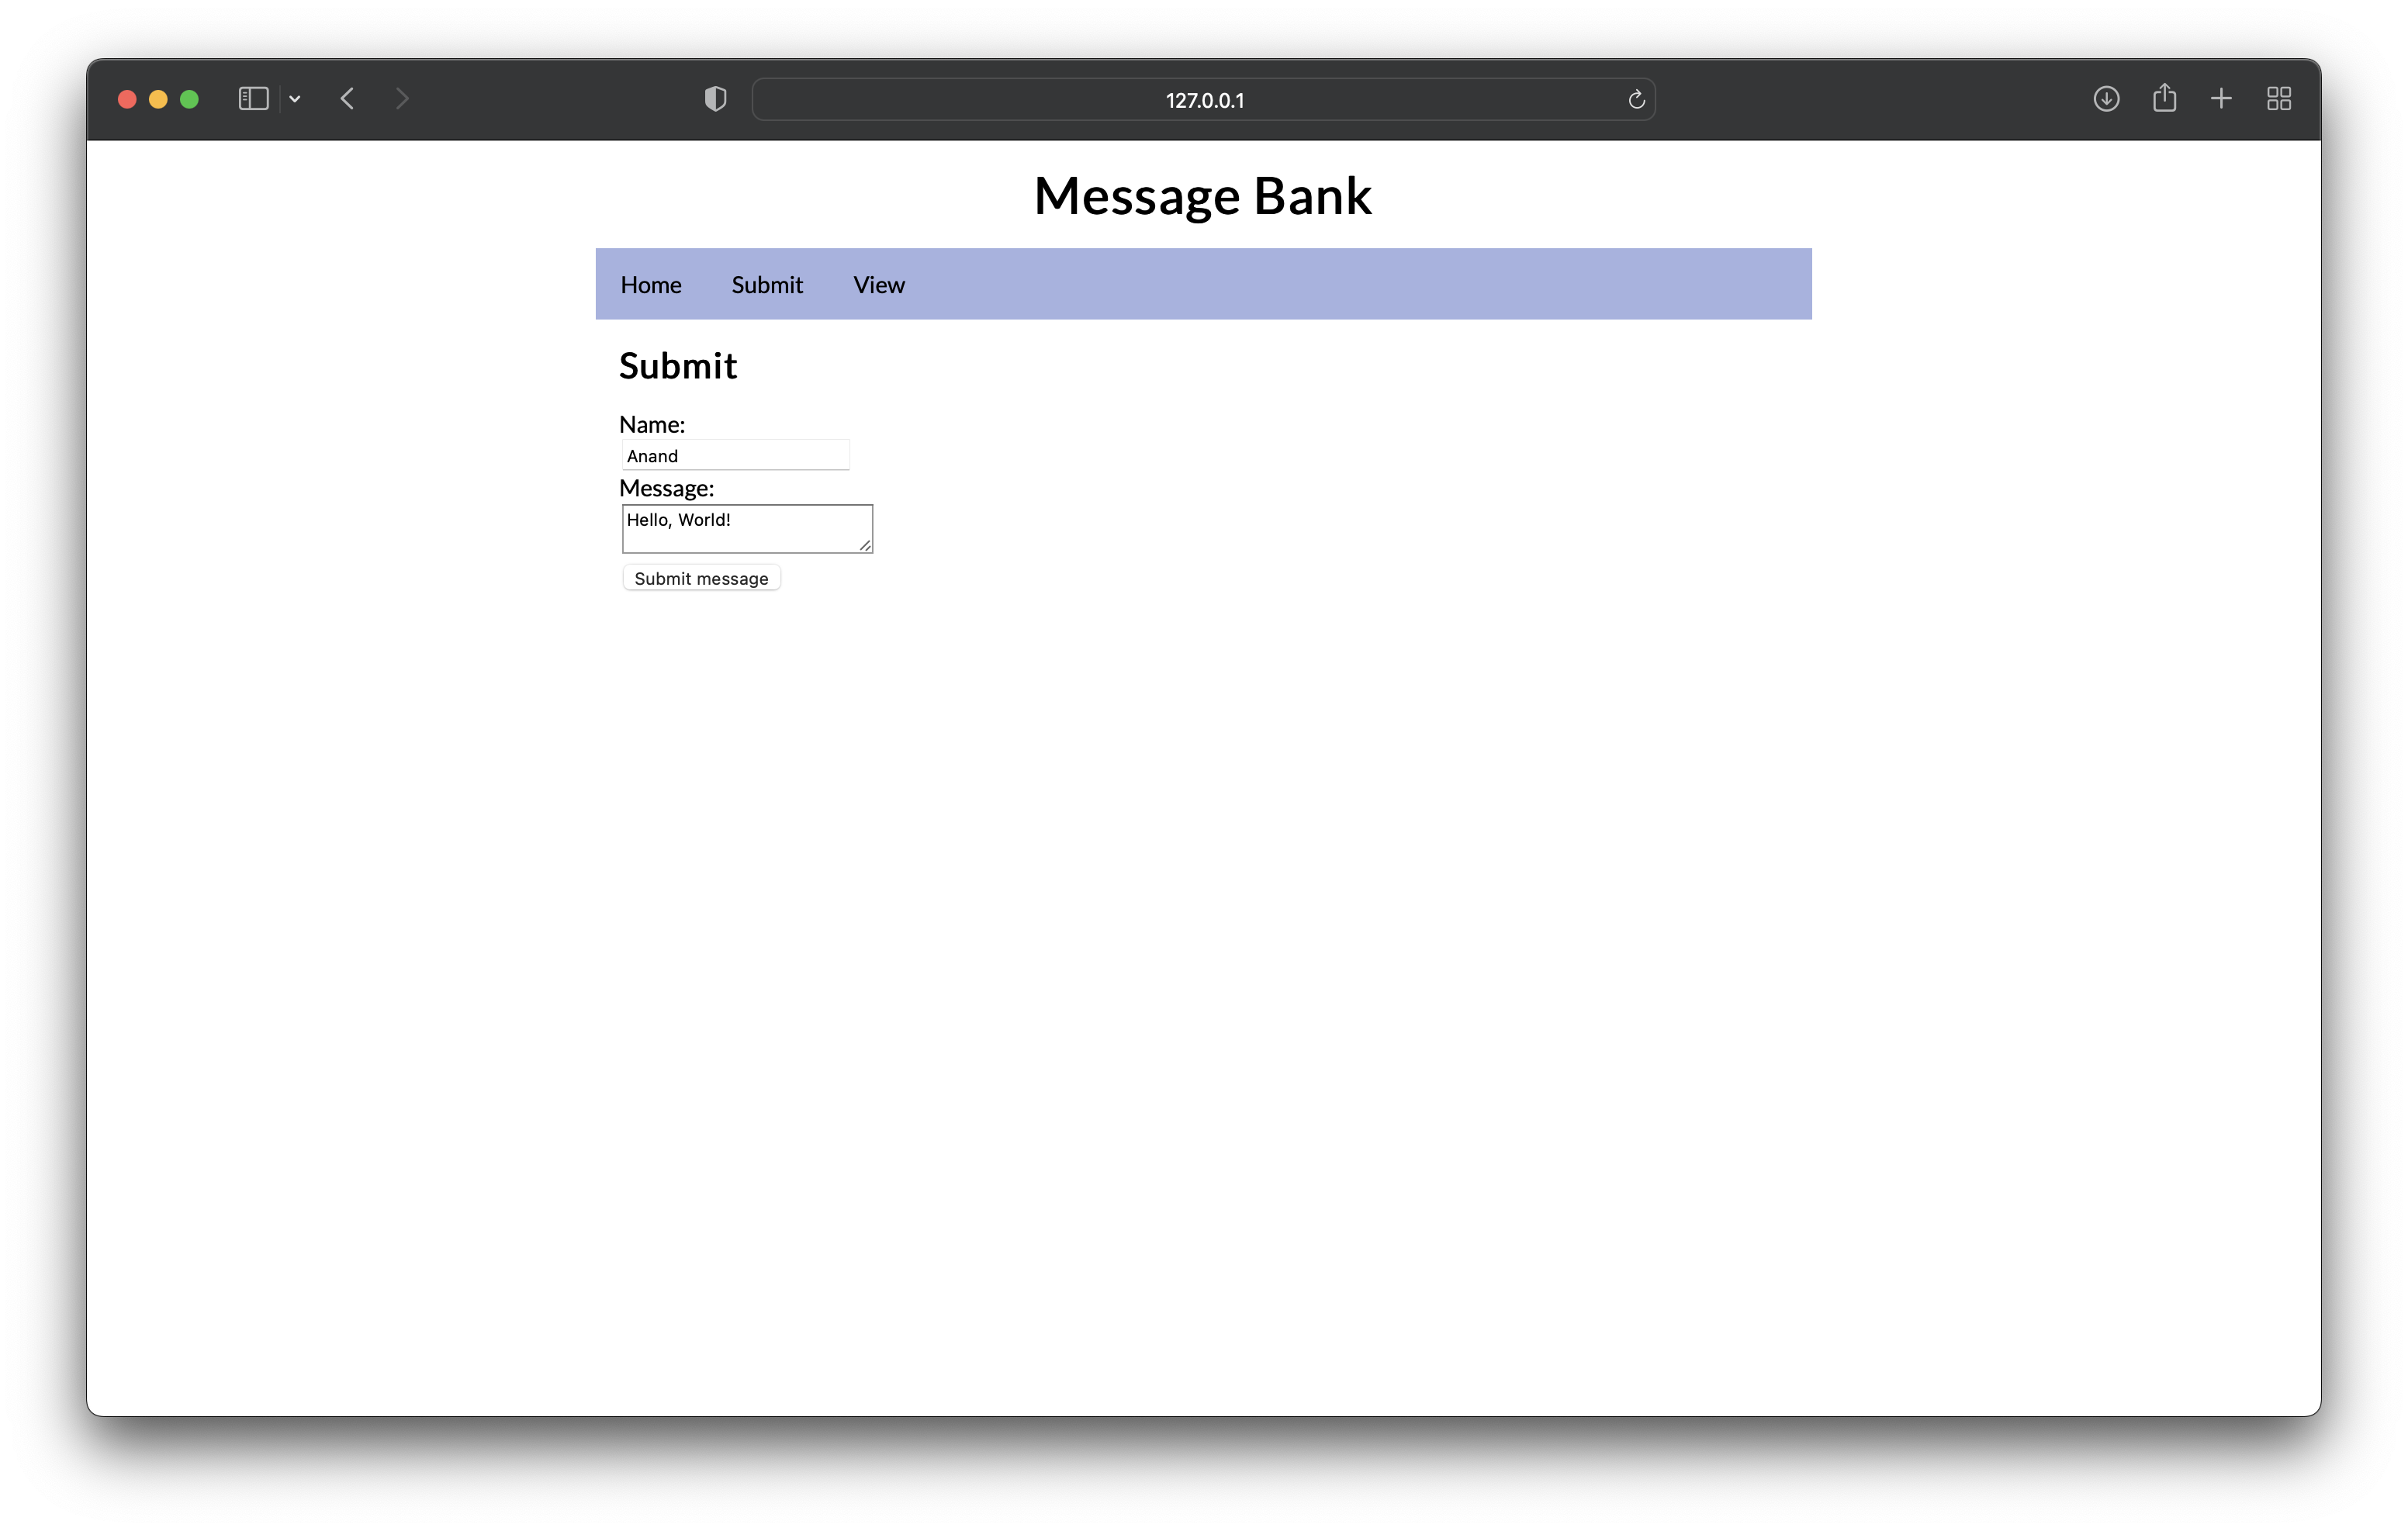
Once you navigate to Submit, you can enter in a message as seen below.
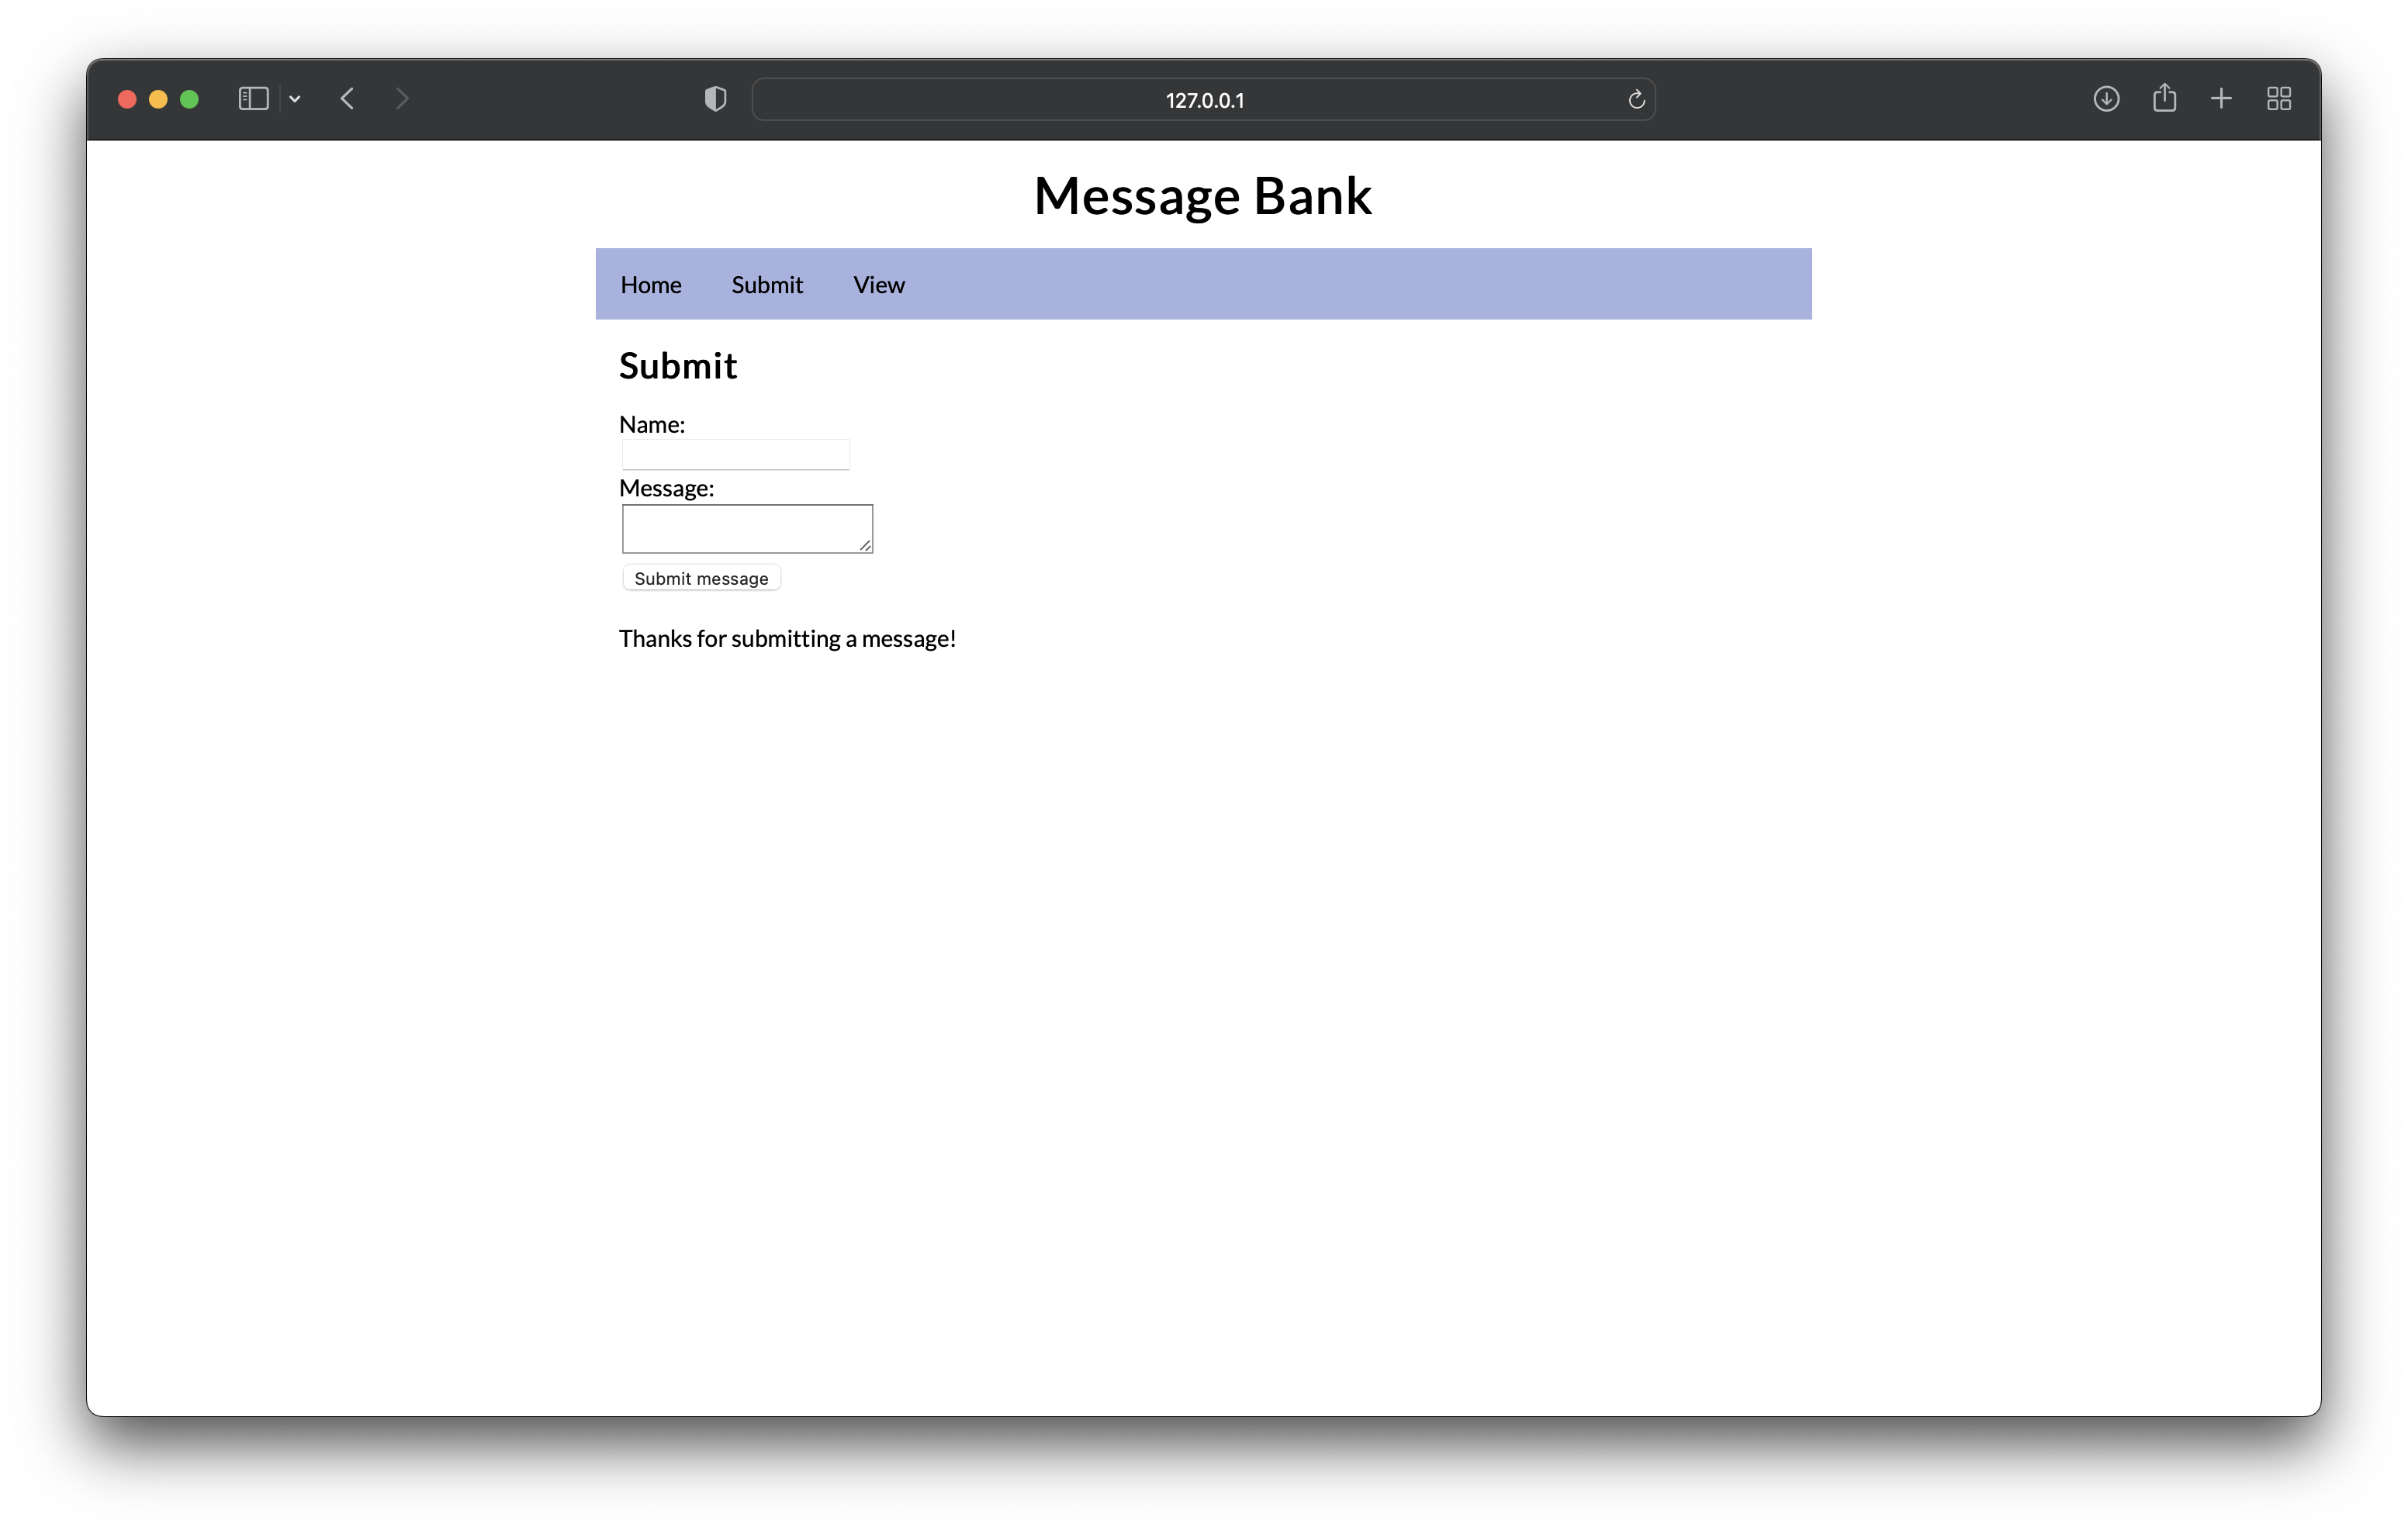
Once you submit the message you will get a feedback message.
Now we can navigate to View. Here we see messages that exist in the database. Since there are only four, including our recently submitted one, they are all shown. If there are more than five, the page will display a random selection.
